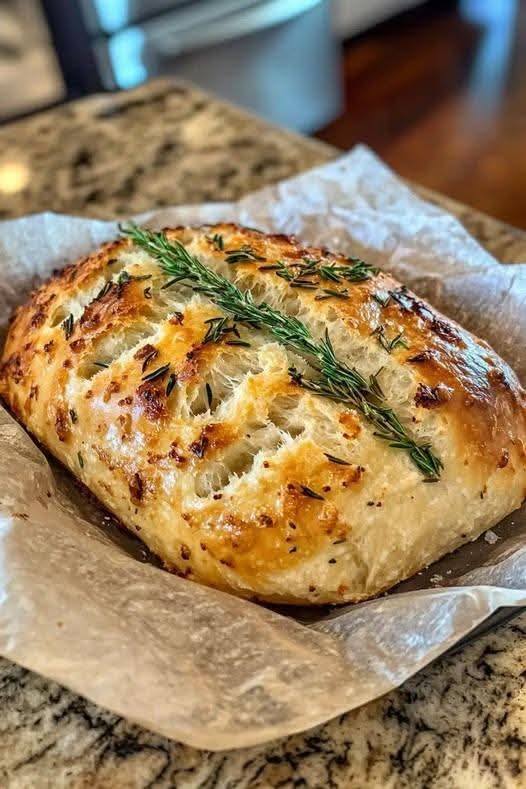
There is nothing quite like the smell of freshly baked homemade bread filling your kitchen. It brings warmth, comfort, and a sense of accomplishment that store-bought loaves simply cannot match. For those following a gluten-free diet, however, finding a loaf that delivers the perfect balance of texture and flavor can feel challenging. Many gluten-free breads turn out dense, dry, or crumbly—but this no-knead gluten-free bread recipe changes everything.
This recipe is carefully designed to give you a soft, airy crumb with a golden crispy crust, all without kneading, dairy, or complicated techniques. Whether you are a beginner baker or someone looking for a reliable easy gluten-free bread recipe, this method will quickly become your go-to.
Why This No-Knead Gluten-Free Bread Recipe Stands Out
Unlike traditional bread recipes that rely heavily on gluten for elasticity and structure, this recipe uses a slow fermentation method to naturally develop texture and flavor. Gluten is usually responsible for trapping air and giving bread its chewiness, but here, time and hydration do the work instead.
The result is a loaf that feels artisan, tastes wholesome, and looks bakery-quality—all made in your own kitchen.
This bread is perfect for:
- People following a gluten-free lifestyle
- Anyone looking for a dairy-free bread recipe
- Home bakers who want a no-knead bread solution
- Busy individuals needing a simple homemade bread option
Understanding the Science Behind Gluten-Free Baking
Gluten-free baking is different from regular baking because it lacks the protein (gluten) that provides elasticity. Without it, dough behaves differently—it doesn’t stretch the same way and can easily collapse or become dense.
This recipe solves that problem by focusing on three key elements:
1. Hydration
Using the right amount of warm water allows the gluten-free flour to fully absorb moisture. This creates a sticky dough that transforms into a soft, tender loaf after baking.
2. Fermentation Time
Instead of kneading, the dough rests for several hours. During this time, yeast slowly produces gas, forming air pockets that give the bread its light structure.
3. Controlled Baking Process
Starting the bread in a cold oven allows it to rise gradually as the temperature increases. This technique helps develop a crispy crust while keeping the inside fluffy.
High-Quality Ingredients Make a Big Difference
To achieve the best results, it’s important to use the right ingredients. Each one plays a crucial role in texture, flavor, and structure.
Warm Water – The Activation Base
Water temperature is critical for activating yeast. It should be warm but not hot—around 105°F to 110°F (40°C to 43°C). Too hot, and the yeast dies; too cold, and it won’t activate properly.
Sugar – The Yeast Booster
A small amount of sugar feeds the yeast, helping it activate faster and produce the bubbles needed for a soft loaf. You can use white sugar, organic sugar, or even honey for a natural touch.
Active Dry Yeast – The Rising Agent
Yeast is responsible for creating air pockets and giving bread its rise. Active dry yeast works perfectly for slow fermentation recipes like this one.
Gluten-Free Flour Blend – The Foundation
A high-quality gluten-free flour blend is essential. Choose blends that contain a mix of rice flour, potato starch, or tapioca starch. These combinations mimic the behavior of wheat flour.
Pro Tip: Avoid using single flours like almond or coconut flour alone, as they do not provide the same structure.
Salt – Flavor Enhancer and Structure Builder
Salt balances the flavor and also regulates yeast activity. It strengthens the dough and enhances the overall taste of the bread.
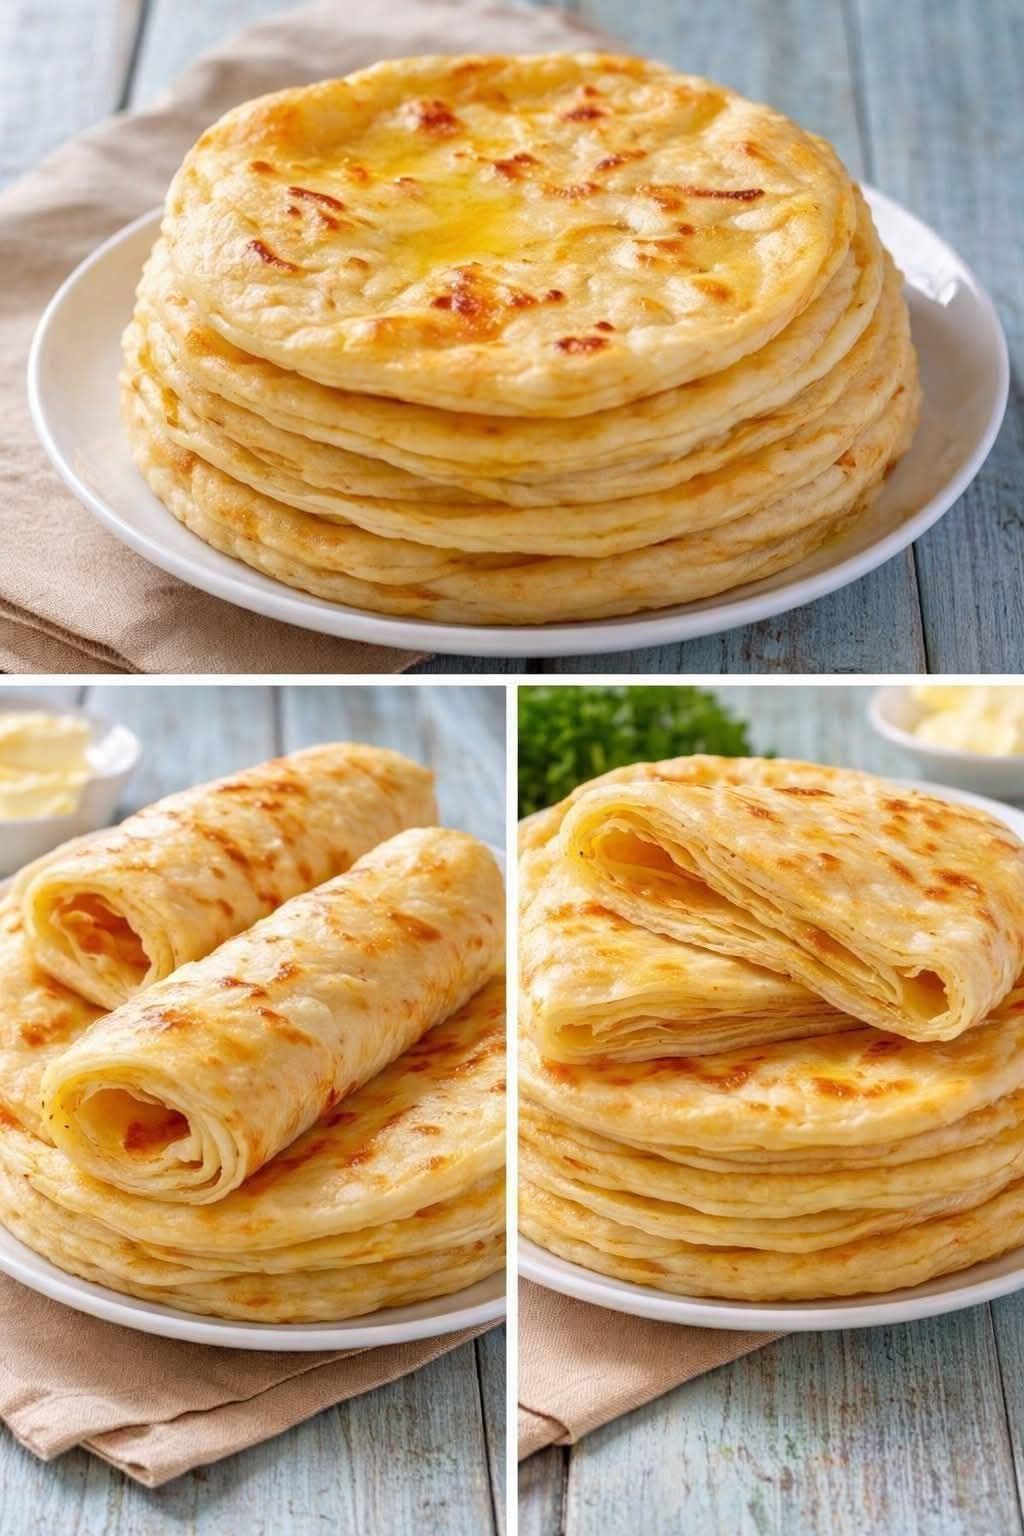
Why No-Knead Method is Perfect for Beginners
Traditional bread recipes often require kneading, which can be intimidating and time-consuming. This recipe removes that step completely.
Instead of kneading:
- You simply mix the ingredients
- Let the dough rest
- Shape it gently
- Bake it to perfection
This makes it one of the easiest homemade gluten-free bread recipes available online today.
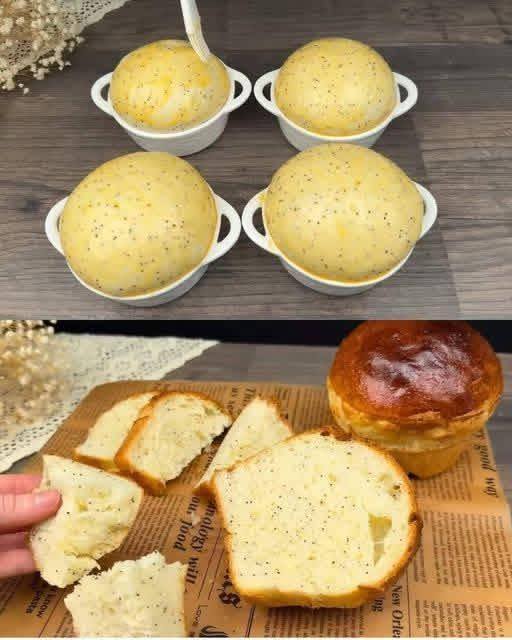
Texture and Taste You Can Expect
This bread delivers:
- A light and airy interior
- A slightly chewy crumb
- A crispy golden crust
- A mild, balanced flavor that pairs well with anything
It is perfect for toast, sandwiches, or serving alongside soups and salads.
Creative Flavor Variations to Try
Once you master the base recipe, you can easily customize it:
- Herb-Infused Bread: Add rosemary, thyme, or oregano
- Garlic Flavor: Mix in garlic powder or brush with garlic oil
- Seeded Crust: Top with sesame, flax, or sunflower seeds
- Cheese Addition: Add shredded cheddar or parmesan for richness
These variations help you create different styles of bread using the same base recipe.
Expert Tips for Perfect Gluten-Free Bread
To get consistent results every time, follow these practical tips:
- Always use fresh yeast for proper rising
- Do not overmix the dough—keep it light
- Allow full resting time for best texture
- Handle the dough gently during shaping
- Let the bread cool before slicing to avoid a gummy texture
Storage and Shelf Life
Homemade gluten-free bread does not contain preservatives, so proper storage is important:
- Room Temperature: Store in an airtight container for up to 2 days
- Refrigerator: Keeps fresh for up to 5 days
- Freezer: Slice and freeze for up to 2 months
To reheat, simply toast or warm in the oven to restore crispness.
Health Benefits of This Gluten-Free Bread
This recipe is not just delicious—it’s also suitable for many dietary needs:
- Gluten-free (ideal for gluten sensitivity or intolerance)
- Dairy-free (safe for lactose-free diets)
- Lower in fat compared to many enriched breads
- Contains fiber depending on flour blend used
It is a great option for anyone looking for a healthy homemade bread alternative.
Why You Will Keep Coming Back to This Recipe
This no-knead gluten-free bread is:
- Easy to make
- Budget-friendly
- Highly customizable
- Perfect for beginners
- Consistently delicious
Once you try it, you will likely stop searching for other gluten-free bread recipes. It delivers everything you want—taste, texture, and simplicity—in one loaf.
Part 2: Simple No-Knead Gluten-Free Bread Recipe
Ingredients
- 1.5 cups warm water (about 370 ml)
- 1 teaspoon sugar (or honey as alternative)
- ½ teaspoon active dry yeast
- 3 cups gluten-free flour blend
- 1 teaspoon salt
Optional Add-Ins (Optional but Recommended):
- Herbs (rosemary, thyme)
- Garlic powder
- Seeds (sesame, sunflower)
- Shredded cheese (parmesan or cheddar)
Step-by-Step Instructions
Step 1: Activate Yeast
In a bowl, combine warm water, sugar, and yeast. Let it sit for 5 minutes until foamy.
Step 2: Mix Dry Ingredients
In a large bowl, whisk together gluten-free flour and salt.
Step 3: Form Dough
Pour the yeast mixture into the flour mixture and stir until a sticky dough forms.
Step 4: Let It Rise
Cover the bowl and let the dough rest at room temperature for about 5 hours.
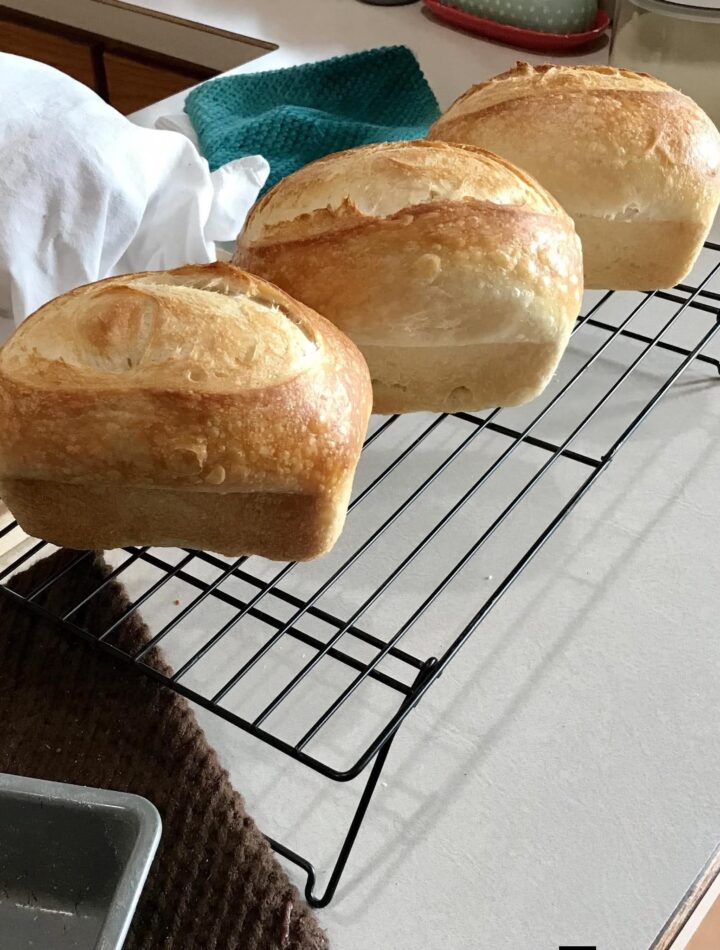
Step 5: Shape the Dough
Transfer dough onto a floured surface and gently shape into a loaf.
Step 6: Prepare for Baking
Place dough into a parchment-lined baking dish and cover with a lid or foil.
Step 7: Bake from Cold Oven
Place in a cold oven, set temperature to 450°F (230°C), and bake for 40 minutes.
Step 8: Finish Baking
Remove cover and bake another 25–30 minutes until golden brown.
Step 9: Cool Before Slicing
Let the bread cool for at least 10 minutes before cutting.
Nutrition (Per Slice – Approximate)
- Calories: 122
- Carbohydrates: 27g
- Protein: 4g
- Fat: 1g
- Fiber: 4g
- Sodium: 234mg